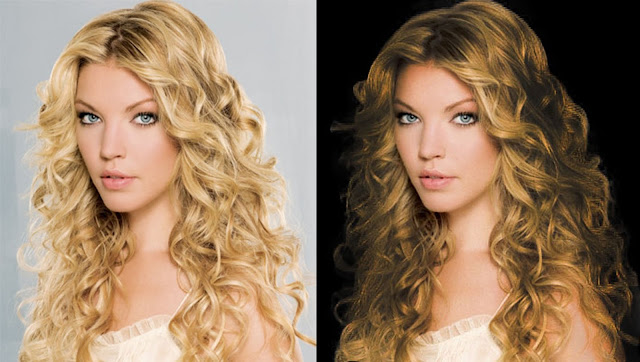
Changing Background with Refine Edge
Adobe Photoshop presents us a first short look at how much easier it could be to select hair, fur and other fine particulars in a photograph. Photoshop gave the Refine Edge power a major overhaul, with sufficient improvement and new appearance to make select hair in a picture simple enough for anyone to do!
This tutorial is about How to make selections in hair image and change its background
Here's the transformation for what I am working with. It displays before - after portion of the photograph-
Photoshop refine edge
Step 1: Open image as a background
Step 2: Copy background as a background layer and name the file “refine edge”
Step 3: Select Lasso tool from the tool panel
Step 4: Draw an outline around the person surface with lasso tool and select the surface
Step 5: Click “refine edge” from the top menu bar from the Photoshop tool. After opening refine edge select “overlay” to masking the hair surface of the portrait
Step 6: Drag and move the cursor of the mouse to mask hair surface to make move from the background to separate the hair area
Step 7: After the masking is done click “new layer “to transfer the masking area on the transparent background
Step 8: Now we can see that “refine edge copy” is created separately on the layer panel
Step 9: Select background layer and press ALT+ backspace to apply black color background behind the object
Step 10: So now you can differentiate the refine edge masking with the new background
This way we can easily change a background with hair surface to a new color background or any other background from another place
Thanks for visiting our Tutorial
For more tutorial go HERE


Post a Comment